加载中…
创作者 · MotionSites
查看原始来源 ↗
Prompt
构建一个名为 **"Xero"** 的 **单页 React + TypeScript (Vite)** 产品落地页英雄区,精确复刻以下区块。使用 **Inter** Google Font(字重 300、400、500、600、700、800)。英雄区不要使用 Tailwind utility classes——请在全局样式表中编写普通 CSS。除指定的粉红-洋红渐变弧线外,不要使用紫色/靛蓝色品牌元素。

## 布局与结构

在黑色页面(`#0a0a0f`)上居中渲染三个顶层区块,每个区块均限制为 `max-width: 1600px`,按以下垂直顺序排列:

1. **`<nav>`**——sticky-style 顶栏(实际上不设置 sticky,仅位于顶部)
2. **`<section class="hero-card">`**——带动画图标管线的圆角深色英雄卡片
3. **`<div class="brands">`**——一行 5 个单色品牌 logo

body 使用 `display: flex; flex-direction: column; align-items: center; padding: 14px;` 和 `font-family: 'Inter', sans-serif;`。

### CSS 变量(位于 `:root`)
```
--bg: #0a0a0f;
--surface: #111118;
--text: #f0f0f5;
--text-muted: #8888a8;
--accent: #c8a0e0;
--accent-pink: #b04090;
--border: rgba(255, 255, 255, 0.08);
```

## NAVBAR

- 网格布局:`grid-template-columns: 1fr auto 1fr; padding: 12px 24px; margin-bottom: 14px;`
- **左侧**:`<span class="nav-logo">Xero</span>`——`font-size: 1.05rem; font-weight: 700; letter-spacing: -0.01em;`
- **中间**:包含三个 `<a>` 项的 `<ul class="nav-links">`:**Method**、**Pricing**、**Docs**。颜色为 `--text-muted`,`font-size: 0.85rem`,间距 32px,hover 时在 0.2s 内过渡为 `--text`。
- **右侧**:包含两个胶囊按钮的 `<div class="nav-actions">`:
  - `.btn-login`——背景为 `rgba(255,255,255,0.06)`,1px `--border` 边框,白色文字,padding 为 `7px 18px`,`border-radius: 999px`,`font-size: 0.82rem`,`font-weight: 500`。Hover:背景为 `rgba(255,255,255,0.12)`。
  - `.btn-signup`——纯白背景,黑色 `#0a0a0f` 文字,尺寸相同,`font-weight: 600`。Hover:`opacity: 0.88`。
- 在桌面端,`.nav-menu` 包装器使用 `display: contents`,使 `ul` 和操作区成为网格的直接子元素。

### 移动端(≤ 768px)
- Nav 改为使用 space-between 的 flex 布局。
- 显示 `.menu-toggle` 汉堡菜单:一个 24×14 按钮,包含两个高度为 2px 的白色 span。当具有 `.active` 时,span 1 旋转为 `translateY(6px) rotate(45deg)`,span 2 旋转为 `translateY(-6px) rotate(-45deg)`,组成 X。
- `.nav-menu.active` 使用全屏 `var(--bg)` 遮罩层,在 0.4s 内以 `cubic-bezier(0.4, 0, 0.2, 1)` 从 `right: -100%` 滑入至 `right: 0`,链接纵向堆叠,按钮占满宽度。
- 切换菜单时设置 `document.body.style.overflow = 'hidden'`。

## 英雄卡片

外层 `.hero-card` 样式:
- `width: 100%; max-width: 1600px; border-radius: 20px; border: 1px solid rgba(255,255,255,0.07); overflow: hidden; position: relative; background: #0d0b12; padding: 80px 40px 70px; min-height: 640px;`
- `display: flex; flex-direction: column; align-items: center; text-align: center;`

### `::before` 渐变弧线(标志性视觉元素)
一个定位于 `50% -70%` 的径向渐变,使用**多个手动微调的色标**,在顶部附近形成平滑的深色→粉色→白色弧线:
```
background:
  radial-gradient(circle at 50% -70%,
    transparent 60%,
    rgba(176,48,136,0.03) 63%,
    rgba(176,48,136,0.08) 65%,
    rgba(176,48,136,0.16) 67%,
    rgba(176,48,136,0.28) 69%,
    rgba(176,48,136,0.40) 71%,
    rgba(176,48,136,0.52) 73%,
    rgba(176,48,136,0.64) 75%,
    rgba(176,48,136,0.74) 77%,
    rgba(176,48,136,0.82) 79%,
    rgba(210,70,175,0.92) 85%,
    rgba(240,110,210,0.88) 87%,
    rgba(255,205,250,0.92) 91%,
    rgba(255,240,255,0.98) 93%,
    #ffffff 95%),
  radial-gradient(circle at 50% 35%, rgba(120,40,180,0.08) 0%, transparent 50%);
z-index: 0; pointer-events: none;
```

### `.hero-grid` 叠加层
一个单独的绝对定位 div,带有交叉网格:
```
background-image:
  linear-gradient(rgba(255,255,255,0.07) 1px, transparent 1px),
  linear-gradient(90deg, rgba(255,255,255,0.07) 1px, transparent 1px);
background-size: 40px 40px;
mask-image: radial-gradient(circle at 50% -70%, transparent 60%, black 78%);
```
这样可使网格仅在弧线区域内可见。

## 图标管线(动画视觉中心)

容器 `.icon-pipeline`:`position: relative; display: flex; align-items: center; justify-content: center; max-width: 700px; margin-bottom: 52px; z-index: 1;`

子元素严格按以下顺序排列:

1. **`<svg class="beam-svg">`**——绝对定位并覆盖整个管线(`overflow: visible`),其中包含:
   - 一个 `<filter id="glow">`,先使用 `feGaussianBlur stdDeviation="2"`,然后使用 `feComposite ... operator="over"`。
   - 一个 `<linearGradient id="beam-gradient" gradientUnits="userSpaceOnUse">`,包含以下色标:
     - `0%` `#b04090` opacity 0
     - `20%` `#b04090` opacity 0.8
     - `50%` `#fff` opacity 1
     - `80%` `#c8a0e0` opacity 0.8
     - `100%` `#c8a0e0` opacity 0
   - 两个 `<path>` 元素,均使用 `url(#beam-gradient)` 作为描边:
     - 发光路径:`stroke-width="2"`、`filter="url(#glow)"`、`opacity: 0.6`。
     - 核心路径:`stroke-width="0.8"`。

2. **左侧节点** `.icon-node.node-light-right`(id `node-stack`)——Lucide-style **layers** SVG(3 个堆叠的菱形):`<polygon points="12 2 2 7 12 12 22 7 12 2"/><polyline points="2 17 12 22 22 17"/><polyline points="2 12 12 17 22 12"/>`。

3. **`.pipeline-line`**——`width: 160px; height: 1px;`,线性渐变为 `90deg, rgba(255,255,255,0.15), rgba(255,255,255,0.07)`。

4. **中间包装器**,使用 `position: relative;`,其中包含:
   - **`.splash`**——100×100,绝对居中,`border-radius: 50%`,`background: radial-gradient(circle, rgba(255,77,200,0.6) 0%, transparent 70%)`,初始状态为 `opacity: 0; transform: scale(0.4); z-index: 2;`
   - **`.icon-node-center`**(id `node-x`)——64×64 圆形,`background: #1e1e2c`,带 neumorphic 阴影(见下文),其中包含 **Xero "X" logoipsum** SVG(`viewBox="0 0 40 40"`)——使用源文件中提供的 multi-cut path。

5. **`.pipeline-line.right`**——同样为 160×1 的线条,渐变方向相反。

6. **右侧节点** `.icon-node.node-light-left`(id `node-shield`)——Lucide-style **shield-check** SVG:`<path d="M12 22s8-4 8-10V5l-8-3-8 3v7c0 6 8 10 8 10z"/><polyline points="9 12 11 14 15 10"/>`。

### 侧边节点样式
`.icon-node`:46×46 圆形,`background: #1a1a24`,`cursor: pointer`,`z-index: 3`,带有以下 **neumorphic** 阴影堆栈:
```
box-shadow:
  6px 6px 12px rgba(0,0,0,0.4),
  -4px -4px 10px rgba(255,255,255,0.03),
  inset 1px 1px 1px rgba(255,255,255,0.05),
  inset 4px 4px 8px rgba(0,0,0,0.4);
```
另外添加一个位于 `inset: -7px` 的 `::after` 点状外环(`border: 1px dotted #1a1a24`)。
Hover:`translateY(-1px)`,并增强阴影。Active:仅保留 inset 阴影。
内部 SVG:20×20,描边为 `rgba(255,255,255,0.7)`,`stroke-width: 1.5`,无填充,端点为圆角。

### 中心节点样式
`.icon-node-center`:64×64,`background: #1e1e2c`,带有类似但更强的 neumorphic 阴影:
```
8px 8px 16px rgba(0,0,0,0.5),
-6px -6px 14px rgba(255,255,255,0.04),
inset 1px 1px 2px rgba(255,255,255,0.06),
inset 6px 6px 12px rgba(0,0,0,0.5);
```
内部 Xero SVG:28×28,`fill: white`。

### 侧边光效
- `.node-light-right::before`——右侧的半圆径向光效:`radial-gradient(circle at right, rgba(200,200,200,0.45) 0%, transparent 70%)`,默认 `opacity: 0`,具有 `.active` 时为 `opacity: 1`(300ms 过渡)。
- `.node-light-left::before`——相同效果,但位于左侧,颜色为 `rgba(200,100,255,0.5)`。

### Splash Keyframe
```
@keyframes splash-anim {
  0%   { transform: scale(0.4); opacity: 0.8; }
  40%  { opacity: 0.6; }
  100% { transform: scale(1.4); opacity: 0; }
}
```
通过添加 `.animate` 触发(0.8s ease-out forwards)。

## 光束动画(JavaScript / requestAnimationFrame)

实现一个包含四个阶段的状态机。在挂载时以及每次窗口 `resize` 时,重新计算 SVG 路径:

```
const pRect = pipeline.getBoundingClientRect();
const sRect = nodeStack.getBoundingClientRect();
const xRect = nodeX.getBoundingClientRect();
const shRect = nodeShield.getBoundingClientRect();
const startX = sRect.left + sRect.width/2 - pRect.left;
const startY = sRect.top  + sRect.height/2 - pRect.top;
// midX/midY from nodeX, endX/endY from nodeShield
const d = `M ${startX},${startY} L ${midX},${midY} L ${endX},${endY}`;
```
将此 `d` 设置到**两条**光束路径上。

通过修改 `#beam-gradient`(位于 `userSpaceOnUse` 中)的 `x1` / `x2` 为渐变添加动画,使明亮窗口沿路径滑动。使用 `halfWidth = 5`(百分比单位),`center = percentage * 100`:
```
gradient.x1 = (center - 5) + '%'
gradient.x2 = (center + 5) + '%'
y1 = y2 = '0%'
```

在 `requestAnimationFrame` 循环中实现状态机,并跟踪 `lastStateChange` 时间戳:

| 状态 | 时长 | 行为 |
|---|---|---|
| **`p1`** | 800 ms | `percentage` 从 `0 → 0.5` 插值。当 `p < 0.4` 时,为 `node-stack` 添加 `.active`;之后移除。结束时:切换到 `splash`,隐藏两条光束路径(`opacity: 0`),并为 splash 添加 `.animate`。 |
| **`splash`** | 800 ms | 等待。时间结束后:切换到 `p2`,移除 `.animate`,将两条光束路径恢复为 `opacity: 1`。 |
| **`p2`** | 800 ms | `percentage` 从 `0.5 → 1.0` 插值。当 `p > 0.6` 时,为 `node-shield` 添加 `.active`。结束时:移除 `.active`,切换到 `idle`。 |
| **`idle`** | 1000 ms | 等待,然后循环回到 `p1`。 |

总循环时长约为 3.4 秒,无限循环。

## 英雄区文本

`.hero-content` `max-width: 620px; z-index: 1;`

```html
<h1 class="hero-heading">
  简单地
  <strong>加密你的数据</strong>
</h1>
<p class="hero-sub">
  面向各行业团队的全托管数据加密服务与标注<br>
  平台。
</p>
<a href="#" class="btn-cta">开始使用</a>
```

- `.hero-heading`:`font-size: clamp(2.4rem, 5.5vw, 4rem); font-weight: 300; line-height: 1.1; letter-spacing: -0.02em;`
- `.hero-heading strong`:`display: block; font-weight: 400; margin-top: 4px;`,并使用 `background: linear-gradient(to right, #ffffff, #a98597); -webkit-background-clip: text; -webkit-text-fill-color: transparent;`
- `.hero-sub`:0.9rem,颜色为 `rgba(255,255,255,0.4)`,`max-width: 440px`,`margin: 0 auto 36px`。
- `.btn-cta`:白色胶囊按钮,黑色文字,`padding: 12px 32px; border-radius: 999px; font-weight: 600;`。Hover:`opacity: 0.9; translateY(-1px)`。

## 品牌行

`.brands`:flex 横向布局,`gap: 64px; padding: 32px 24px 10px; flex-wrap: wrap; justify-content: center;`

五个 `.brand-item` 区块(每个区块:flex,gap 10,颜色为 `rgba(255,255,255,0.35)`,font-size 1.1rem,font-weight 500,white-space nowrap,并带一个 22×22 SVG):

1. **Expedia**——`<circle cx=12 cy=12 r=10 fill=current /><path fill="var(--bg)" d="M8 9h8v2H8zm0 4h6v2H8z"/>`,随后是文字 `Expedia`。
2. **asana**——三个实心圆:`(12,7,r=4)`、`(5,16,r=3.5)`、`(19,16,r=3.5)`,文字为 `asana`。
3. **zenefits**——三条带描边的水平 polyline(长度为 16/8/16),分别位于 y=8/12/16,文字为 `zenefits`。
4. **HubSpot**——小型实心圆 `(15.5,8.5,r=2.5)`、带描边的圆 `(8.5,8.5,r=2)`,以及连接它们的路径;文字为 `HubSp<span class="hubspot-dot"></span>t`,其中 `.hubspot-dot` 是一个 6×6 的圆形上标点。
5. **loom**——圆形 `(12,12,r=9)`,以及组成 globe-with-X 的垂直/水平/对角描边线,文字为 `loom`。

## 响应式断点

- `≤ 860px`:管线使用 `gap: 0; margin-bottom: 40px;`,`.pipeline-line { width: 80px }`。
- `≤ 768px`:启用移动端汉堡菜单,`.icon-node` 缩小至 38×38,`.icon-node-center` 缩小至 52×52,`.hero-card { padding: 60px 20px 60px; min-height: auto }`,`.brands { gap: 32px }`。
- `≤ 480px`:`.hero-card { border-radius: 16px }`,`.brands { gap: 24px }`。

## Z-Index 层级(对 splash/beam 分层至关重要)

- `0`——渐变弧线 + 网格叠加层
- `1`——管线容器、英雄区文本
- `2`——beam SVG、splash
- `3`——所有图标节点
- `4`——节点侧边光效
- `1000-1001`——移动端 nav 遮罩层和 toggle

精确实现以上所有内容。对管线、三个节点、两条光束路径、渐变和 splash 使用 `useRef`。使用一个 `useEffect` 设置 resize 监听器和 `requestAnimationFrame` 循环,并在组件卸载时清理二者。适用模型与稳定度
建议模型
继续探索

@Oluwaphilemon1 使用 Claude Fable 5 · Three.js · Blender · GSAP完成的网页案例,包含公开结果、完整 Prompt 与原始来源。
提示语
Claude Fable 5 和 GPT-5.6 很强🥵🥵🥵 下面是我如何使用 Claude 构建的 👇 提示词:「设计一个机构网站,把服务以 3D 超市商品包装的形式呈现」 使用 Three.js 和 WebGL 在浏览器中实时渲染所有产品 使用 Blender 制作包装模型,然后导出为 GLTF 以加载到 Three.js 中 使用 GSAP 实现流畅的产品旋转和悬停交互 如果你想做一个让客户感觉像是在购买高级商品的作品集,请保存这条 🛒
复制这段 TSX 组件源码,交给 Cursor、v0、Claude 等 AI 编程工具,说明这是「3D Animated Pin」的 Aceternity UI 组件实现,即可让它接入你的 React 项目,再按需替换文案、配色与触发参数复用。
提示语
// components/ui/3d-pin.tsx "use client"; import React, { useState } from "react"; import { motion } from "motion/react"; import { cn } from "@/lib/utils"; export const PinContainer = ({ children, title, href, className, containerClassName…
提示语
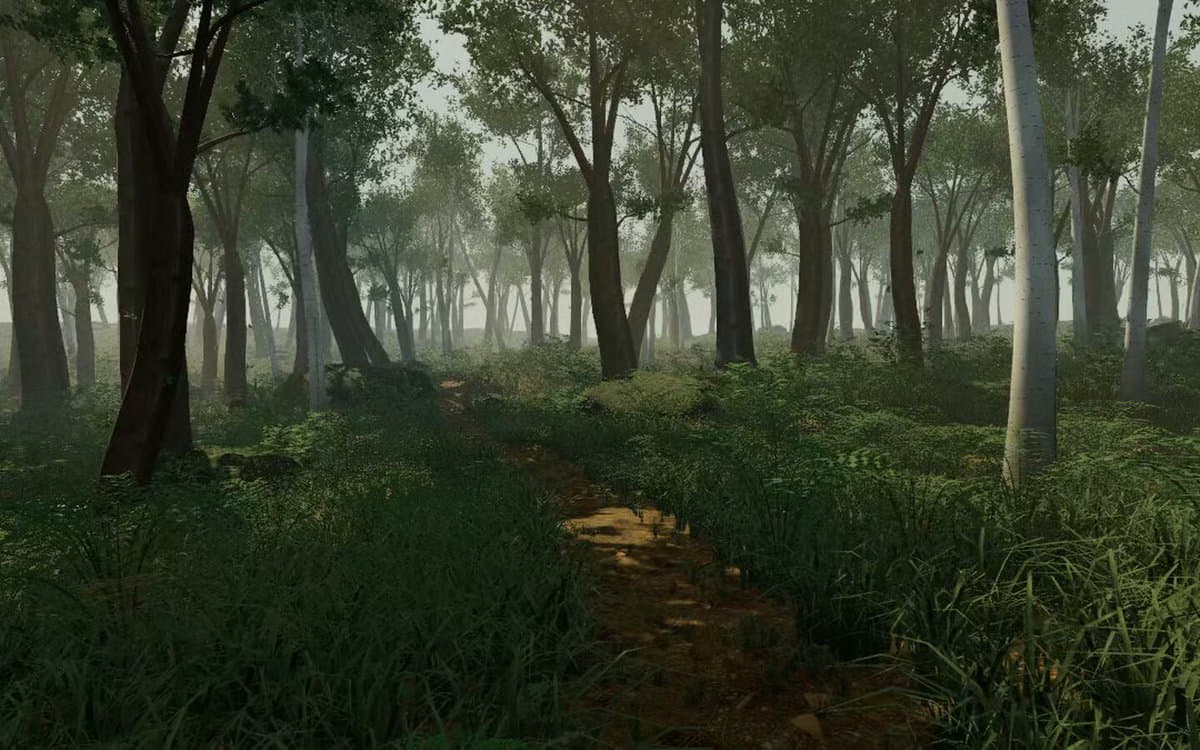
首先搜索 "/unlazy" skill,完整阅读它,并在整个任务中持续使用。 将此视为一项至少持续 {argument name="minimum duration" default="5 小时"} 的大型视觉构建。如果环境允许,最好进行 {argument name="optimal duration" default="8–24 小时"} 有实质意义的实现和迭代。不要在制作出一个还不错的场景后就停下。 在浏览器中创建一个细节极其丰富的实时 {argument nam