加载中…
创作者 · MotionSites
查看原始来源 ↗
Prompt
构建一个与以下规范完全一致的 `PricingSection` React 组件。

## 技术栈与全局设置

- React 18 + Vite + TypeScript、TailwindCSS、`framer-motion`、`clsx` + `tailwind-merge`,通过 `@/lib/utils` 中的 `cn()` 暴露。
- 深色主题。页面背景 `#000000`。字体:Inter(`font-inter`)。图标:Google **Material Symbols Outlined**(全局加载)。
- Tailwind 配置必须包含语义化 HSL token,以及:
  ```ts
  theme.extend.colors.landing = {
    surface: "rgba(255,255,255,0.10)",
    "surface-hover": "rgba(255,255,255,0.16)",
    border: "rgba(255,255,255,0.10)",
  }
  ```
- `--background` / `--foreground` HSL token 驱动 `bg-background`(深色)和 `text-foreground`(近白色)。

## 辅助组件(完全复用其行为)

### `MIcon`
Material Symbols span。Props:`name`、`size=20`、`weight=400`、`fill=0`、`grade=0`、`opticalSize=24`、`className`。
```tsx
<span
  className={cn("material-symbols-outlined select-none leading-none", className)}
  style={{
    fontSize: size,
    fontVariationSettings: `'FILL' ${fill}, 'wght' ${weight}, 'GRAD' ${grade}, 'opsz' ${opticalSize}`,
  }}
>{name}</span>
```

### `FadeUp`
`framer-motion` wrapper:`initial={{opacity:0, y:24}}`、`whileInView={{opacity:1, y:0}}`、`viewport={{once:true, amount:0.3}}`、`transition={{duration:0.6, delay, ease:[0.22,1,0.36,1]}}`。Props:`children`、`delay=0`、`className`。

### `SpotlightBorder`
通过 CSS masks 实现跟随光标的 1px 渐变边框。
- Props:`children`、`className`、`radius="2xl"`、`size=520`、`intensity=0.5`。
- Wrapper 设置 CSS vars `--spot-x`、`--spot-y`(默认值为 `-9999px`),并在 `pointermove` 时根据元素的相对位置更新。
- 两个堆叠层使用 `-webkit-mask` + `mask`:`linear-gradient(#000 0 0) content-box, linear-gradient(#000 0 0)`,并通过 `mask-composite: exclude` 生成 1px 圆环;圆环使用 `radial-gradient(circle var(--size) at var(--spot-x) var(--spot-y), rgba(255,255,255, var(--intensity)), transparent 60%)` 绘制。
- 外环:`rounded-2xl border border-white/10`。内部高亮环:更细,hover 时更亮。仅内部内容启用 pointer events。

### `PrimaryButton` / `SecondaryButton`
- 两者均为:`inline-flex items-center justify-center rounded-full`、Inter、leading-none,并带有 hover 时文字从下方向上移动的动画(`AnimatedText`)。
- PrimaryButton:`bg-white/80 hover:bg-white text-black`。尺寸 `sm` = `h-8 px-4 text-sm`。
- SecondaryButton:`bg-landing-surface hover:bg-landing-surface-hover border border-landing-border text-foreground backdrop-blur-[2.5px] font-medium`。尺寸 `sm` = `h-8 px-4 text-sm`。

## 区块结构 — `PricingSection`

```tsx
<section id="pricing" className="relative w-full bg-background py-12 sm:py-16">
  <div className="mx-auto max-w-[1080px] px-4 sm:px-6">
    {/* 页眉 */}
    <div className="mb-14 flex flex-col items-start gap-10 lg:flex-row lg:items-end lg:justify-between">
      <div className="max-w-2xl">
        <FadeUp>
          <span className="mb-6 inline-flex items-center gap-2 rounded-full bg-landing-surface border border-white/10 px-3 py-1 text-xs text-foreground/80 backdrop-blur">
            <span className="h-1.5 w-1.5 rounded-full bg-foreground/70" />
            定价
          </span>
        </FadeUp>
        <FadeUp delay={0.1}>
          <h2 className="text-3xl sm:text-4xl font-normal tracking-[-0.02em] leading-[1.05] text-foreground">
            清晰明了的定价方案
            <br className="hidden sm:block" /> 随你一同扩展。
          </h2>
        </FadeUp>
      </div>
      <FadeUp delay={0.2}>
        <p className="max-w-sm text-sm sm:text-base text-foreground/60">
          一次付款,终身使用。根据你想走多远,选择适合你的方案。
        </p>
      </FadeUp>
    </div>

    {/* 卡片 */}
    <div className="mx-auto grid max-w-3xl grid-cols-1 gap-6 md:grid-cols-2">
      {plans.map(p => <PricingCard key={p.name} plan={p} />)}
    </div>
  </div>
</section>
```

## 方案数据(精确如下)

```ts
type Feature = { text: string; included: boolean };
type Plan = {
  name: string; price: string; originalPrice?: string; description: string;
  features: Feature[]; featured?: boolean; badge?: string; bg: string;
};

const plans: Plan[] = [
  {
    name: "课程",
    price: "159", originalPrice: "497",
    description: "一次付款。终身使用。立省 68%。",
    bg: "#161616",
    features: [
      { text: "所有课程和视频", included: true },
      { text: "所有模块。终身使用。", included: true },
      { text: "AI Builder", included: true },
      { text: "无限量模板", included: false },
      { text: "无限量动态视频", included: false },
    ],
  },
  {
    name: "课程 + Lovable 模板",
    price: "239", originalPrice: "697",
    description: "一次付款。终身使用。最超值。",
    bg: "#252525",
    features: [
      { text: "所有课程和视频", included: true },
      { text: "所有模块。终身使用。", included: true },
      { text: "AI Builder", included: true },
      { text: "无限量模板", included: true },
      { text: "无限量动态视频", included: true },
    ],
    featured: true,
    badge: "最超值",
  },
];
```

## `PricingCard`

```tsx
<SpotlightBorder radius="2xl" size={460} intensity={0.5}
  className="relative h-full p-2 sm:p-3">
  <div
    className="relative flex h-full flex-col rounded-2xl border border-white/10 p-7 sm:p-8"
    style={{ backgroundColor: plan.bg }}
  >
    {plan.badge && (
      <div className="absolute -top-3 left-1/2 -translate-x-1/2 rounded-full border border-white/15 bg-white px-3 py-1 text-xs font-medium text-black">
        {plan.badge}
      </div>
    )}

    <FadeUp delay={0}>
      <div className="text-[11px] uppercase tracking-[0.2em] text-foreground/60">
        {plan.name}
      </div>
    </FadeUp>
    <div className="mt-3 border-t border-white/10" />

    <FadeUp delay={0.1}>
      <div className="mt-10 flex items-baseline gap-2">
        <span className="text-[2.75rem] leading-none font-normal tracking-tight text-foreground">${plan.price}</span>
        {plan.originalPrice && (
          <span className="text-lg text-foreground/40 line-through">${plan.originalPrice}</span>
        )}
      </div>
    </FadeUp>

    <FadeUp delay={0.2}>
      <p className="mt-4 text-sm leading-relaxed text-foreground/60">{plan.description}</p>
    </FadeUp>

    <FadeUp delay={0.3}>
      <div className="mt-7">
        {plan.featured
          ? <PrimaryButton href="/auth?mode=signup" size="sm">立即开始</PrimaryButton>
          : <SecondaryButton href="/auth?mode=signup" size="sm">立即开始</SecondaryButton>}
      </div>
    </FadeUp>

    <FadeUp delay={0.4}>
      <ul className="mt-7 flex flex-1 flex-col gap-2">
        {plan.features.map((f, i) => (
          <li key={f.text}
            className={cn(
              "flex items-center gap-3 py-4 text-sm",
              i !== 0 && "border-t border-white/10",
              f.included ? "text-foreground/85" : "text-foreground/40"
            )}>
            <span className={cn(
              "flex h-5 w-5 flex-shrink-0 items-center justify-center rounded-full border",
              f.included ? "border-white/20 bg-white/[0.06]" : "border-white/10 bg-transparent"
            )}>
              {f.included
                ? <MIcon name="check" size={12} className="text-foreground" />
                : <MIcon name="close" size={12} className="text-foreground/50" />}
            </span>
            {f.text}
          </li>
        ))}
      </ul>
    </FadeUp>
  </div>
</SpotlightBorder>
```

## 验收清单

- 区块 id 为 `pricing`,使用 `bg-background`、垂直内边距 `py-12 sm:py-16`、最大宽度 `1080px`。
- 页眉:胶囊标签(带圆点的“定价”)、标题“清晰明了的定价方案 / 随你一同扩展。”(≥sm 时换行),在 `lg+` 上右对齐的段落(max-w-sm)。三者均使用依次错开的 `FadeUp` delay:0、0.1、0.2。
- 卡片网格:`max-w-3xl mx-auto`、`gap-6`,1 列 → 在 `md` 时为 2 列。
- 卡片 1 背景为 `#161616`,卡片 2 背景为 `#252525`,并带“最超值”胶囊标签(`-top-3`、白色背景、黑色文字);featured 方案使用 `PrimaryButton`,另一方案使用 `SecondaryButton`。
- 每张卡片带有跟随光标的 `SpotlightBorder` 1px 圆环(size 460、intensity 0.5)。
- 卡片内容顺序:眉题(uppercase、`text-[11px] tracking-[0.2em]`)、分隔线、价格行(`$2.75rem` + 带删除线的原价 `text-foreground/40`)、描述、按钮、功能列表。
- 功能行:`py-4`,除第一行外均由 `border-t border-white/10` 分隔。已包含 = 20px 圆形 `border-white/20 bg-white/[0.06]`,内含 check;未包含 = 带 close 的透明圆形,文字使用 `text-foreground/40`。
- 卡片内部 `FadeUp` 依次错开:0、0.1、0.2、0.3、0.4。
- 按钮链接到 `/auth?mode=signup`。
- 所有颜色均通过 HSL token / 已声明的 landing surface token 设置;除两张卡片背景和 `#000000` 外,绝不硬编码十六进制颜色。适用模型与稳定度
建议模型
继续探索

@Oluwaphilemon1 使用 Claude Fable 5 · Three.js · Blender · GSAP完成的网页案例,包含公开结果、完整 Prompt 与原始来源。
提示语
Claude Fable 5 和 GPT-5.6 很强🥵🥵🥵 下面是我如何使用 Claude 构建的 👇 提示词:「设计一个机构网站,把服务以 3D 超市商品包装的形式呈现」 使用 Three.js 和 WebGL 在浏览器中实时渲染所有产品 使用 Blender 制作包装模型,然后导出为 GLTF 以加载到 Three.js 中 使用 GSAP 实现流畅的产品旋转和悬停交互 如果你想做一个让客户感觉像是在购买高级商品的作品集,请保存这条 🛒
复制这段 TSX 组件源码,交给 Cursor、v0、Claude 等 AI 编程工具,说明这是「3D Animated Pin」的 Aceternity UI 组件实现,即可让它接入你的 React 项目,再按需替换文案、配色与触发参数复用。
提示语
// components/ui/3d-pin.tsx "use client"; import React, { useState } from "react"; import { motion } from "motion/react"; import { cn } from "@/lib/utils"; export const PinContainer = ({ children, title, href, className, containerClassName…
提示语
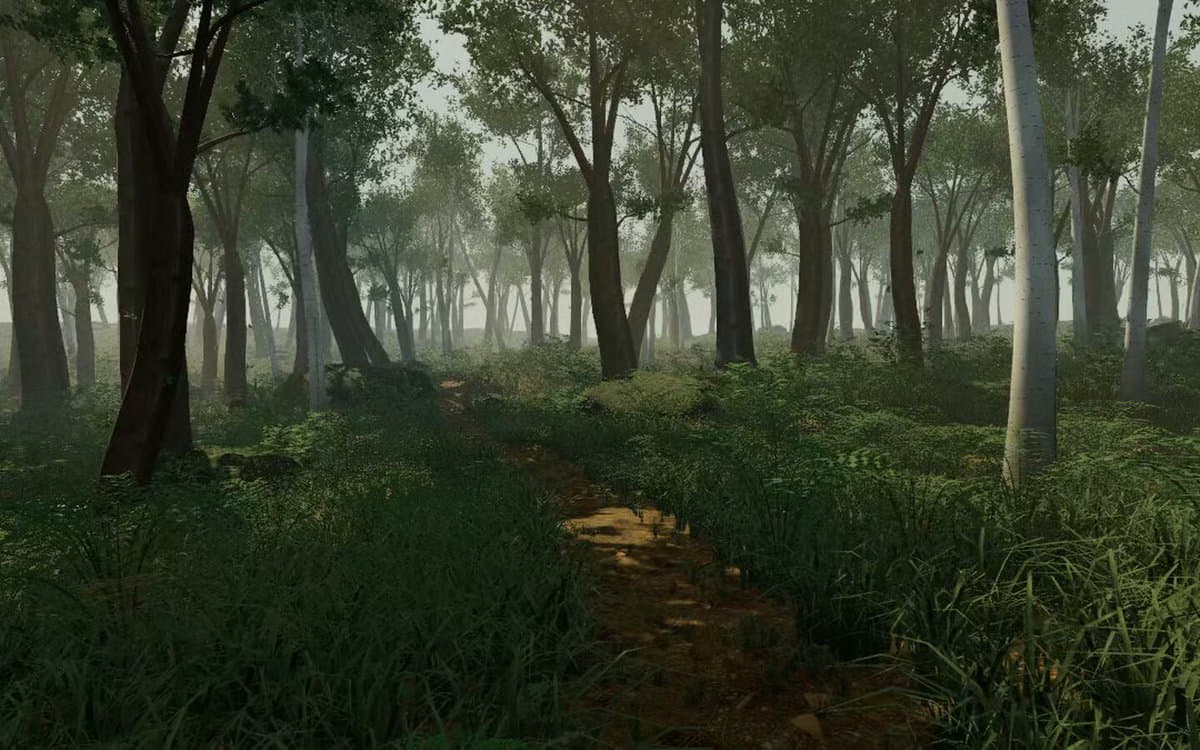
首先搜索 "/unlazy" skill,完整阅读它,并在整个任务中持续使用。 将此视为一项至少持续 {argument name="minimum duration" default="5 小时"} 的大型视觉构建。如果环境允许,最好进行 {argument name="optimal duration" default="8–24 小时"} 有实质意义的实现和迭代。不要在制作出一个还不错的场景后就停下。 在浏览器中创建一个细节极其丰富的实时 {argument nam