加载中…
创作者 · Aceternity UI
查看原始来源 ↗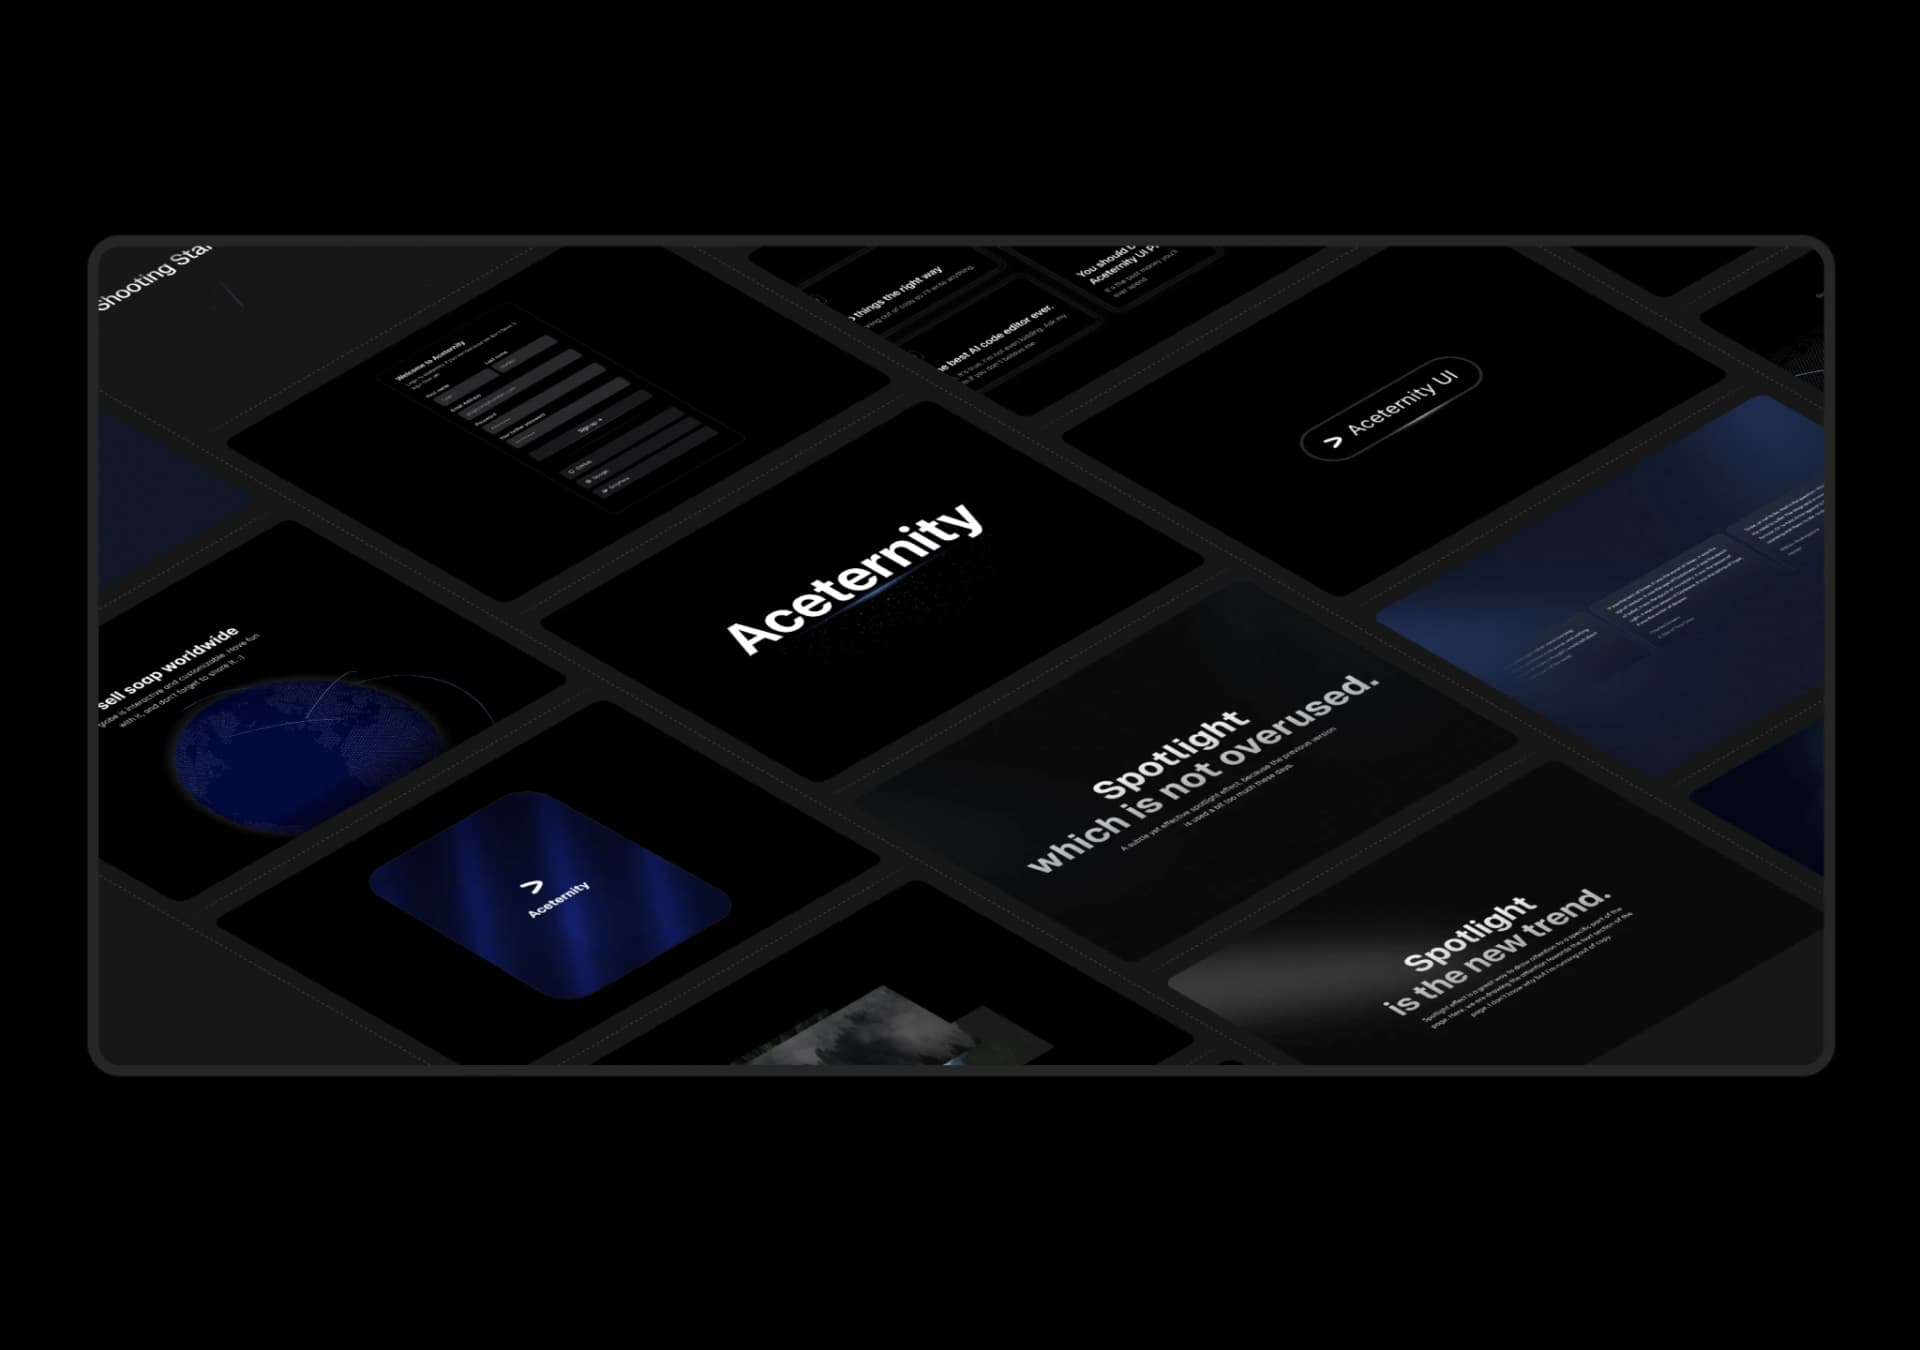
Prompt
// components/ui/3d-marquee.tsx
"use client";

import { motion } from "motion/react";
import { cn } from "@/lib/utils";
export const ThreeDMarquee = ({
  images,
  className,
}: {
  images: string[];
  className?: string;
}) => {
  // Split the images array into 4 equal parts
  const chunkSize = Math.ceil(images.length / 4);
  const chunks = Array.from({ length: 4 }, (_, colIndex) => {
    const start = colIndex * chunkSize;
    return images.slice(start, start + chunkSize);
  });
  return (
    <div
      className={cn(
        "mx-auto block h-[600px] overflow-hidden rounded-2xl max-sm:h-100",
        className,
      )}
    >
      <div className="flex size-full items-center justify-center">
        <div className="size-[1720px] shrink-0 scale-50 sm:scale-75 lg:scale-100">
          <div
            style={{
              transform: "rotateX(55deg) rotateY(0deg) rotateZ(-45deg)",
            }}
            className="relative top-96 right-[50%] grid size-full origin-top-left grid-cols-4 gap-8 transform-3d"
          >
            {chunks.map((subarray, colIndex) => (
              <motion.div
                animate={{ y: colIndex % 2 === 0 ? 100 : -100 }}
                transition={{
                  duration: colIndex % 2 === 0 ? 10 : 15,
                  repeat: Infinity,
                  repeatType: "reverse",
                }}
                key={colIndex + "marquee"}
                className="flex flex-col items-start gap-8"
              >
                <GridLineVertical className="-left-4" offset="80px" />
                {subarray.map((image, imageIndex) => (
                  <div className="relative" key={imageIndex + image}>
                    <GridLineHorizontal className="-top-4" offset="20px" />
                    <motion.img
                      whileHover={{
                        y: -10,
                      }}
                      transition={{
                        duration: 0.3,
                        ease: "easeInOut",
                      }}
                      key={imageIndex + image}
                      src={image}
                      alt={`Image ${imageIndex + 1}`}
                      className="aspect-[970/700] rounded-lg object-cover ring ring-gray-950/5 hover:shadow-2xl"
                      width={970}
                      height={700}
                    />
                  </div>
                ))}
              </motion.div>
            ))}
          </div>
        </div>
      </div>
    </div>
  );
};

const GridLineHorizontal = ({
  className,
  offset,
}: {
  className?: string;
  offset?: string;
}) => {
  return (
    <div
      style={
        {
          "--background": "#ffffff",
          "--color": "rgba(0, 0, 0, 0.2)",
          "--height": "1px",
          "--width": "5px",
          "--fade-stop": "90%",
          "--offset": offset || "200px", //-100px if you want to keep the line inside
          "--color-dark": "rgba(255, 255, 255, 0.2)",
          maskComposite: "exclude",
        } as React.CSSProperties
      }
      className={cn(
        "absolute left-[calc(var(--offset)/2*-1)] h-[var(--height)] w-[calc(100%+var(--offset))]",
        "bg-[linear-gradient(to_right,var(--color),var(--color)_50%,transparent_0,transparent)]",
        "[background-size:var(--width)_var(--height)]",
        "[mask:linear-gradient(to_left,var(--background)_var(--fade-stop),transparent),_linear-gradient(to_right,var(--background)_var(--fade-stop),transparent),_linear-gradient(black,black)]",
        "[mask-composite:exclude]",
        "z-30",
        "dark:bg-[linear-gradient(to_right,var(--color-dark),var(--color-dark)_50%,transparent_0,transparent)]",
        className,
      )}
    ></div>
  );
};

const GridLineVertical = ({
  className,
  offset,
}: {
  className?: string;
  offset?: string;
}) => {
  return (
    <div
      style={
        {
          "--background": "#ffffff",
          "--color": "rgba(0, 0, 0, 0.2)",
          "--height": "5px",
          "--width": "1px",
          "--fade-stop": "90%",
          "--offset": offset || "150px", //-100px if you want to keep the line inside
          "--color-dark": "rgba(255, 255, 255, 0.2)",
          maskComposite: "exclude",
        } as React.CSSProperties
      }
      className={cn(
        "absolute top-[calc(var(--offset)/2*-1)] h-[calc(100%+var(--offset))] w-[var(--width)]",
        "bg-[linear-gradient(to_bottom,var(--color),var(--color)_50%,transparent_0,transparent)]",
        "[background-size:var(--width)_var(--height)]",
        "[mask:linear-gradient(to_top,var(--background)_var(--fade-stop),transparent),_linear-gradient(to_bottom,var(--background)_var(--fade-stop),transparent),_linear-gradient(black,black)]",
        "[mask-composite:exclude]",
        "z-30",
        "dark:bg-[linear-gradient(to_bottom,var(--color-dark),var(--color-dark)_50%,transparent_0,transparent)]",
        className,
      )}
    ></div>
  );
};适用模型与稳定度
建议模型
继续探索

@Oluwaphilemon1 使用 Claude Fable 5 · Three.js · Blender · GSAP完成的网页案例,包含公开结果、完整 Prompt 与原始来源。
提示语
Claude Fable 5 和 GPT-5.6 很强🥵🥵🥵 下面是我如何使用 Claude 构建的 👇 提示词:「设计一个机构网站,把服务以 3D 超市商品包装的形式呈现」 使用 Three.js 和 WebGL 在浏览器中实时渲染所有产品 使用 Blender 制作包装模型,然后导出为 GLTF 以加载到 Three.js 中 使用 GSAP 实现流畅的产品旋转和悬停交互 如果你想做一个让客户感觉像是在购买高级商品的作品集,请保存这条 🛒
复制这段 TSX 组件源码,交给 Cursor、v0、Claude 等 AI 编程工具,说明这是「3D Animated Pin」的 Aceternity UI 组件实现,即可让它接入你的 React 项目,再按需替换文案、配色与触发参数复用。
提示语
// components/ui/3d-pin.tsx "use client"; import React, { useState } from "react"; import { motion } from "motion/react"; import { cn } from "@/lib/utils"; export const PinContainer = ({ children, title, href, className, containerClassName…
提示语
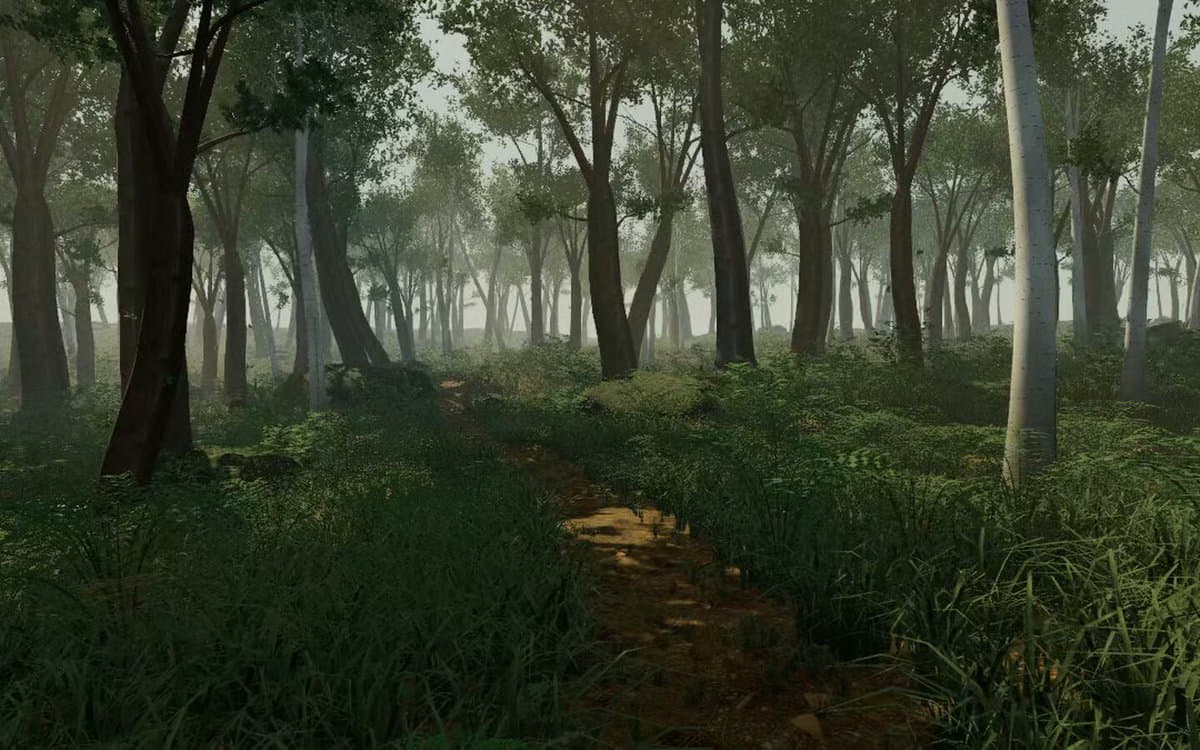
首先搜索 "/unlazy" skill,完整阅读它,并在整个任务中持续使用。 将此视为一项至少持续 {argument name="minimum duration" default="5 小时"} 的大型视觉构建。如果环境允许,最好进行 {argument name="optimal duration" default="8–24 小时"} 有实质意义的实现和迭代。不要在制作出一个还不错的场景后就停下。 在浏览器中创建一个细节极其丰富的实时 {argument nam