加载中…
创作者 · Aceternity UI
查看原始来源 ↗
Prompt
// components/ui/dotted-glow-background.tsx
"use client";

import React, { useEffect, useRef, useState } from "react";

type DottedGlowBackgroundProps = {
  className?: string;
  /** 点中心之间的距离,单位为像素 */
  gap?: number;
  /** 每个点的基础半径,单位为 CSS px */
  radius?: number;
  /** 点的颜色(将通过 alpha 产生脉冲效果) */
  color?: string;
  /** 深色模式下可选的点颜色 */
  darkColor?: string;
  /** 亮点的阴影/光晕颜色 */
  glowColor?: string;
  /** 深色模式下可选的光晕颜色 */
  darkGlowColor?: string;
  /** 浅色点颜色的可选 CSS 变量名(例如 --color-zinc-900) */
  colorLightVar?: string;
  /** 深色点颜色的可选 CSS 变量名(例如 --color-zinc-100) */
  colorDarkVar?: string;
  /** 浅色光晕颜色的可选 CSS 变量名 */
  glowColorLightVar?: string;
  /** 深色光晕颜色的可选 CSS 变量名 */
  glowColorDarkVar?: string;
  /** 整个图层的全局不透明度 */
  opacity?: number;
  /** 背景径向渐隐的不透明度(0 = 透明背景) */
  backgroundOpacity?: number;
  /** 每个点的最小速度,单位为 rad/s */
  speedMin?: number;
  /** 每个点的最大速度,单位为 rad/s */
  speedMax?: number;
  /** 所有点的全局速度倍数 */
  speedScale?: number;
};

/**
 * 基于 Canvas、随机变亮和变暗的点阵背景。
 * - 使用稳定的点阵网格。
 * - 每个点都有自己的 phase + speed,从而产生自然的闪烁效果。
 * - 通过 ResizeObserver 处理高 DPI 和尺寸调整。
 */
export const DottedGlowBackground = ({
  className,
  gap = 12,
  radius = 2,
  color = "rgba(0,0,0,0.7)",
  darkColor,
  glowColor = "rgba(0, 170, 255, 0.85)",
  darkGlowColor,
  colorLightVar,
  colorDarkVar,
  glowColorLightVar,
  glowColorDarkVar,
  opacity = 0.6,
  backgroundOpacity = 0,
  speedMin = 0.4,
  speedMax = 1.3,
  speedScale = 1,
}: DottedGlowBackgroundProps) => {
  const canvasRef = useRef<HTMLCanvasElement | null>(null);
  const containerRef = useRef<HTMLDivElement | null>(null);
  const [resolvedColor, setResolvedColor] = useState<string>(color);
  const [resolvedGlowColor, setResolvedGlowColor] = useState<string>(glowColor);

  // 从容器或根元素解析 CSS 变量值
  const resolveCssVariable = (
    el: Element,
    variableName?: string,
  ): string | null => {
    if (!variableName) return null;
    const normalized = variableName.startsWith("--")
      ? variableName
      : `--${variableName}`;
    const fromEl = getComputedStyle(el as Element)
      .getPropertyValue(normalized)
      .trim();
    if (fromEl) return fromEl;
    const root = document.documentElement;
    const fromRoot = getComputedStyle(root).getPropertyValue(normalized).trim();
    return fromRoot || null;
  };

  const detectDarkMode = (): boolean => {
    const root = document.documentElement;
    if (root.classList.contains("dark")) return true;
    if (root.classList.contains("light")) return false;
    return (
      window.matchMedia &&
      window.matchMedia("(prefers-color-scheme: dark)").matches
    );
  };

  // 使解析后的颜色与主题变化和 prop 更新保持同步
  useEffect(() => {
    const container = containerRef.current ?? document.documentElement;

    const compute = () => {
      const isDark = detectDarkMode();

      let nextColor: string = color;
      let nextGlow: string = glowColor;

      if (isDark) {
        const varDot = resolveCssVariable(container, colorDarkVar);
        const varGlow = resolveCssVariable(container, glowColorDarkVar);
        nextColor = varDot || darkColor || nextColor;
        nextGlow = varGlow || darkGlowColor || nextGlow;
      } else {
        const varDot = resolveCssVariable(container, colorLightVar);
        const varGlow = resolveCssVariable(container, glowColorLightVar);
        nextColor = varDot || nextColor;
        nextGlow = varGlow || nextGlow;
      }

      setResolvedColor(nextColor);
      setResolvedGlowColor(nextGlow);
    };

    compute();

    const mql = window.matchMedia
      ? window.matchMedia("(prefers-color-scheme: dark)")
      : null;
    const handleMql = () => compute();
    mql?.addEventListener?.("change", handleMql);

    const mo = new MutationObserver(() => compute());
    mo.observe(document.documentElement, {
      attributes: true,
      attributeFilter: ["class", "style"],
    });

    return () => {
      mql?.removeEventListener?.("change", handleMql);
      mo.disconnect();
    };
  }, [
    color,
    darkColor,
    glowColor,
    darkGlowColor,
    colorLightVar,
    colorDarkVar,
    glowColorLightVar,
    glowColorDarkVar,
  ]);

  useEffect(() => {
    const el = canvasRef.current;
    const container = containerRef.current;
    if (!el || !container) return;

    const ctx = el.getContext("2d");
    if (!ctx) return;

    let raf = 0;
    let stopped = false;
    let isVisible = true;

    const dpr = Math.min(Math.max(1, window.devicePixelRatio || 1), 2);

    const resize = () => {
      const { width, height } = container.getBoundingClientRect();
      el.width = Math.max(1, Math.floor(width * dpr));
      el.height = Math.max(1, Math.floor(height * dpr));
      el.style.width = `${Math.floor(width)}px`;
      el.style.height = `${Math.floor(height)}px`;
      ctx.setTransform(dpr, 0, 0, dpr, 0, 0);
    };

    const ro = new ResizeObserver(resize);
    ro.observe(container);
    resize();

    // 为中等大小的网格预先计算点的元数据,并在调整尺寸时重新生成
    let dots: { x: number; y: number; phase: number; speed: number }[] = [];

    const regenDots = () => {
      dots = [];
      const { width, height } = container.getBoundingClientRect();
      const cols = Math.ceil(width / gap) + 2;
      const rows = Math.ceil(height / gap) + 2;
      const min = Math.min(speedMin, speedMax);
      const max = Math.max(speedMin, speedMax);
      for (let i = -1; i < cols; i++) {
        for (let j = -1; j < rows; j++) {
          const x = i * gap + (j % 2 === 0 ? 0 : gap * 0.5); // 每隔一行偏移
          const y = j * gap;
          // 略微随机化每个点的 phase 和 speed
          const phase = Math.random() * Math.PI * 2;
          const span = Math.max(max - min, 0);
          const speed = min + Math.random() * span; // 可配置的 rad/s
          dots.push({ x, y, phase, speed });
        }
      }
    };

    const regenThrottled = () => {
      regenDots();
    };

    regenDots();

    let last = performance.now();

    const draw = (now: number) => {
      if (stopped) return;
      if (!isVisible) {
        raf = requestAnimationFrame(draw);
        return;
      }
      const dt = (now - last) / 1000; // 秒
      last = now;
      const { width, height } = container.getBoundingClientRect();

      ctx.clearRect(0, 0, el.width, el.height);
      ctx.globalAlpha = opacity;

      // 可选的细微背景渐隐以增强深度(默认为 0 = 透明)
      if (backgroundOpacity > 0) {
        const grad = ctx.createRadialGradient(
          width * 0.5,
          height * 0.4,
          Math.min(width, height) * 0.1,
          width * 0.5,
          height * 0.5,
          Math.max(width, height) * 0.7,
        );
        grad.addColorStop(0, "rgba(0,0,0,0)");
        grad.addColorStop(
          1,
          `rgba(0,0,0,${Math.min(Math.max(backgroundOpacity, 0), 1)})`,
        );
        ctx.fillStyle = grad as unknown as CanvasGradient;
        ctx.fillRect(0, 0, width, height);
      }

      // 为点添加动画
      ctx.save();
      ctx.fillStyle = resolvedColor;

      const time = (now / 1000) * Math.max(speedScale, 0);
      for (let i = 0; i < dots.length; i++) {
        const d = dots[i];
        // 线性三角波 0..1..0,用于线性变亮/变暗
        const mod = (time * d.speed + d.phase) % 2;
        const lin = mod < 1 ? mod : 2 - mod; // 0..1..0
        const a = 0.25 + 0.55 * lin; // 0.25..0.8 线性变化

        // 明亮时绘制光晕
        if (a > 0.6) {
          const glow = (a - 0.6) / 0.4; // 0..1
          ctx.shadowColor = resolvedGlowColor;
          ctx.shadowBlur = 6 * glow;
        } else {
          ctx.shadowColor = "transparent";
          ctx.shadowBlur = 0;
        }

        ctx.globalAlpha = a * opacity;
        ctx.beginPath();
        ctx.arc(d.x, d.y, radius, 0, Math.PI * 2);
        ctx.fill();
      }
      ctx.restore();

      raf = requestAnimationFrame(draw);
    };

    const handleResize = () => {
      resize();
      regenThrottled();
    };

    const observer = new IntersectionObserver(
      (entries) => {
        isVisible = entries[0]?.isIntersecting ?? true;
      },
      { threshold: 0.1 },
    );
    observer.observe(container);

    window.addEventListener("resize", handleResize);
    raf = requestAnimationFrame(draw);

    return () => {
      stopped = true;
      cancelAnimationFrame(raf);
      window.removeEventListener("resize", handleResize);
      observer.disconnect();
      ro.disconnect();
    };
  }, [
    gap,
    radius,
    resolvedColor,
    resolvedGlowColor,
    opacity,
    backgroundOpacity,
    speedMin,
    speedMax,
    speedScale,
  ]);

  return (
    <div
      ref={containerRef}
      className={className}
      style={{ position: "absolute", inset: 0 }}
    >
      <canvas
        ref={canvasRef}
        style={{ display: "block", width: "100%", height: "100%" }}
      />
    </div>
  );
};适用模型与稳定度
建议模型
继续探索

@Oluwaphilemon1 使用 Claude Fable 5 · Three.js · Blender · GSAP完成的网页案例,包含公开结果、完整 Prompt 与原始来源。
提示语
Claude Fable 5 和 GPT-5.6 很强🥵🥵🥵 下面是我如何使用 Claude 构建的 👇 提示词:「设计一个机构网站,把服务以 3D 超市商品包装的形式呈现」 使用 Three.js 和 WebGL 在浏览器中实时渲染所有产品 使用 Blender 制作包装模型,然后导出为 GLTF 以加载到 Three.js 中 使用 GSAP 实现流畅的产品旋转和悬停交互 如果你想做一个让客户感觉像是在购买高级商品的作品集,请保存这条 🛒
复制这段 TSX 组件源码,交给 Cursor、v0、Claude 等 AI 编程工具,说明这是「3D Animated Pin」的 Aceternity UI 组件实现,即可让它接入你的 React 项目,再按需替换文案、配色与触发参数复用。
提示语
// components/ui/3d-pin.tsx "use client"; import React, { useState } from "react"; import { motion } from "motion/react"; import { cn } from "@/lib/utils"; export const PinContainer = ({ children, title, href, className, containerClassName…
提示语
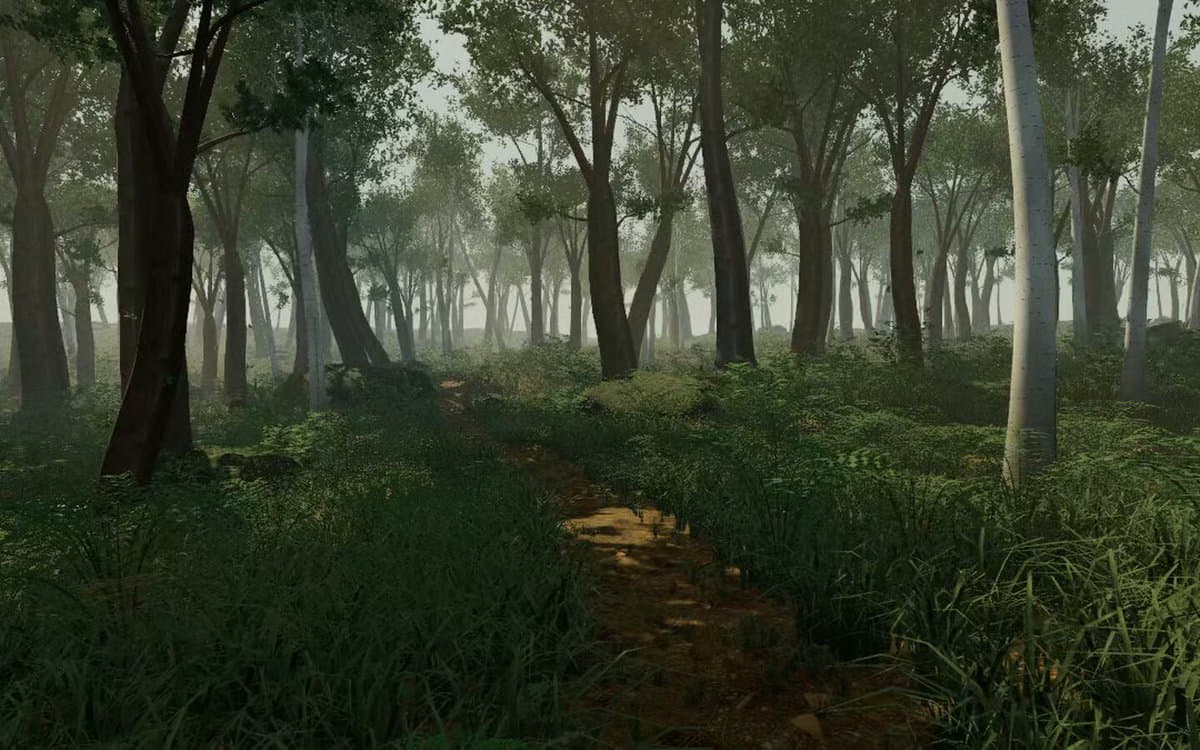
首先搜索 "/unlazy" skill,完整阅读它,并在整个任务中持续使用。 将此视为一项至少持续 {argument name="minimum duration" default="5 小时"} 的大型视觉构建。如果环境允许,最好进行 {argument name="optimal duration" default="8–24 小时"} 有实质意义的实现和迭代。不要在制作出一个还不错的场景后就停下。 在浏览器中创建一个细节极其丰富的实时 {argument nam